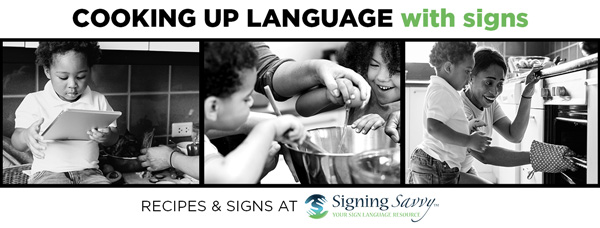
Cooking Up Language with Signs: Language Learning and Teachable Moments Through Cooking
Why is cooking a good language learning activity?
Children find creating things with their own two hands very motivating. They get excited to see how they can be directly involved in the whole process. There is so much that can be taught through cooking activities in your classroom or home - from the choosing of the recipe, the shopping for the products at the grocery store (or a pretend grocery store), the prepping of the food, the actual cooking/baking, the sharing of the creation with others, and the debriefing (talking about what and how they made something).
You don’t have to make anything fancy or complex. In fact, using very simple recipes allows the focus of your cooking activity to be on language learning - sequencing and following directions, learning new vocabulary, describing and recalling information, and asking questions. Cooking activities are great one-on-one or as a group activity where everyone takes turns.
New series of articles focuses on language learning and teachable moments through cooking.
We are starting a new "Cooking Up Language with Signs" series, which features a recipe and accompanying Signing Savvy word list to get you started on an interactive cooking activity that is great for spicing up language learning at home or in the classroom. These activities provides teachers and parents with amazing language opportunities through teachable moments.
Teachable moments are everyday moments that happen throughout the day and open up prime opportunities for you to teach your students/children valuable language lessons. Hearing people learn so much through incidental learning (just overhearing conversations or discussions), but deaf children don’t have these opportunities because of the lack of hearing so we need to use teachable moments to directly teach these types of things.
Tips for the Cooking Activities
Here are some tips to keep in mind as you do these cooking activities.
1. Sign throughout the cooking activity.
Pick up and sign each ingredient. You can do this as a check list through the recipe to make sure you have everything you need before you get started. Food is always a great place to start, but sign everything, not just the ingredients! Sign the steps and pick up and sign the tools you are using too.
2. Use the recipe’s accompanying word list as guide to help you review the steps of the recipe and what signs you will be using.
You can also use the wordlist to print out the signs as a reference, or have your computer up with the wordlist while you are cooking.
3. Don’t limit yourself to the ingredients (or signs) in the recipe or word list!
You have the freedom to modify the recipe to your liking - swap out different ingredients like substituting a fruit in a recipe for your favorite fruit, or make changes to accommodate any allergy or dietary needs, and of course your personal preferences. Experimenting is part of the fun and the learning! Use Signing Savvy as a reference to look up any additional signs you may need.
Additionally, you can create your own word list if you want to customize the signs for the recipe based on the types of ingredients you choose to use.
4. Share your delicious treat with others and tell them, using sign language, how you made it!
5. After the cooking activity, you can also have the children use the digital flash cards or quizzing option on Signing Savvy to review the signs from the word list. You can also share your word list with others.
We hope you enjoy this series and all the tasty creations you make along the way!
ADVERTISEMENTS
 Cooking Up Language with Signs: Frozen Fruit Popsicles Recipe
 Cooking Up Language with Signs: Peanut Butter Reindeer / Rudolph Cookies
 Cooking Up Language with Signs: Frosty the Snowman Oreo Truffles
 Cooking Up Language with Signs: “Homemade” Double Chocolate, Candy Cane Cookies
 Cooking Up Language with Signs: Banana Monkey Bread
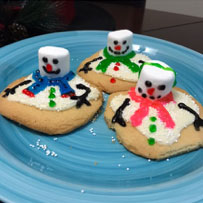 Cooking Up Language with Signs: Melting Snowman Cookies


